
Homeowners: considering a custom gunite or concrete pool? Understanding the concrete and gunite pool construction process is the first step in aligning your vision with your goals.
If you’re looking to understand what happens during the build or what to expect so you can walk into your initial consultation feeling informed and confident, you’ll definitely want to keep reading.
Legacy Pools here: after building more than 1,500 pools, we’ve honed the art of pool construction down to a science.
In this article, we’ll walk you through all you need to know about the gunite pool construction process to help you make the best decision for your backyard pool.
The topics we’ll cover include:
- What’s the gunite pool construction process like?
- Steps 1-8 of concrete and gunite pool construction
- How long does gunite pool construction take?
- Key factors that can affect the process
- A few commonly asked questions about the pool construction process
What’s the gunite pool construction process?
The concrete and gunite swimming pool construction process involves spraying gunite or concrete as part of a sand mixture over steel reinforcement. The process, as a whole, includes the following key construction steps:
- Design
- Excavation
- Structural work
- Concrete and/or gunite application
- Concrete and/or gunite curing
- Finishing
The gunite pool construction process is a fascinating way to spruce up and beautify your backyard into a functional water oasis. Nevertheless, the exact process may vary in timing and order depending on your yard and the scope of the project.
Your pool builder will walk you through the entire process in the first step of the pool building process.
The 8-step gunite pool construction process
| 1. Step 1: Design and site planning 2. Step 2: Excavation 3. Step 3: Structural framework installation 4, Step 4: Plumbing and electrical rough-in 5, Step 5: Gunite application 6. Step 6: Gunite curing 7. Step 7: Tile, coping, decking, and interior finishes 8. Step 8: Pool start-up, equipment check, and final walkthroughs |
Step 1: Design and site planning
In step one, we’re all about helping you clarify your vision for your new backyard pool.
- Initial consultation and your project goals
- The shape, depth, and features of your pool
- The layout of your yard, and any other “extras” you want added to it
- Engineering, measurements, and approval for your pool design
- Permit preparation
Step one kicks off the construction process. Even though excavation hasn’t yet started, the vision for your new pool begins here.
Step 2: Excavation
Now that we have the right ideas for your new pool, we can begin excavation. Excavation is the step in the pool-building process where we create the space for your new pool. This step includes:
- Marking the pool’s layout
- Excavating the shell area
- Preparing the site for structural work
- Checking soil levels and ensuring proper yard access to begin the construction process
The initial excavation sets the stage for the first phases of pool construction. You can quite literally see the hole that’s been dug for your new backyard pool.
Step 3: Installing the structural framework
Now that we’ve carved out the hole in your backyard, we need to create the structural skeleton of the pool. Using steel rebar, we create the skeleton of the pool.
Steel rebar helps create the shape and strength of the pool shell, which is critical for the long-term durability of your pool. Ensuring a quality pool structure is essential, because it helps prevent cracks from water pressure and soil movement during the construction process.
Step 4: Plumbing and electrical rough-in
We’ve dug the hole, and we now have the structure around the perimeter of the pool. The next step of the pool project involves installing pipes, drains, returns, and suction lines.
For example, we begin preparing the framework for LED lighting, pumps, and other equipment in the pool. We always ensure that these systems are positioned and anchored before the pool shell is completed.
Much of the hidden infrastructure is built early on, because once the gunite is sprayed through and over the steel rebar, it helps provide strength to all elements inside the pool shell. Furthermore, conducting plumbing and electrical work in the beginning helps prevent the pool from cracking under the pressure of the water and the surrounding soil.
Step 5: Applying gunite to the pool shell
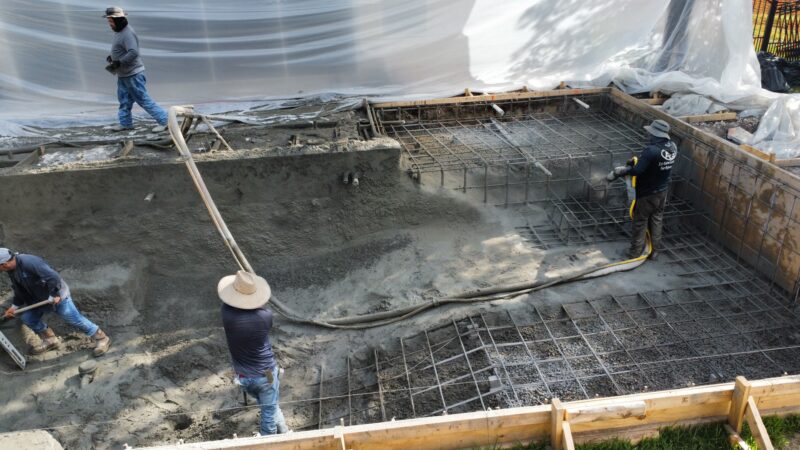
This is where the magic happens. We’re nearly halfway through. Gunite and/or concrete are sprayed onto the steel framework in this stage.
During this step, a mix of sand, concrete, and water is pumped out of a hose nozzle. It’s shot out and needs to be wetted down throughout the entire shell for at least seven days.
The wetting down of the gunite helps cure the gunite to its highest and strongest pressure. This process is critical to the gunite swimming pool construction process, as the concrete and gunite form the basis of the entire pool.
The gunite is shot out in a way that the pool walls remain straight, with a small bowl on the floor. You’ll also have your choice between gunite and shotcrete.
Gunite is a dry mix of durable concrete, and shotcrete uses a wet mix of durable concrete; both are equally valuable and helpful during concrete and gunite swimming pool construction, because they help ensure that the pool walls, tile and coping remain intact.
Step 6: Why gunite curing process matters
Once the gunite forms, it’s ready for the all-important step of gunite curing. Gunite curing is a 7-28-day process where a sprayed concrete pool shell hardens, strengthens, and binds cement with water.
Proper curing requires watering a pool shell daily for at least seven days to ensure that the concrete doesn’t dry fast, so that it can become durable and leak-resistant.
Nevertheless, timelines vary depending on the climate and project, so the amount of time for curing may differ depending on the size and complexity of the pool.
Step 7: Tile, coping, decking, and interior finishes
Once the shell has cured, it’s time to start making your pool look pretty. In step seven, we install:
- Tile and pool coping
- Plaster
- Pool decking
- Surrounding outdoor features
- Interior aggregate finishes
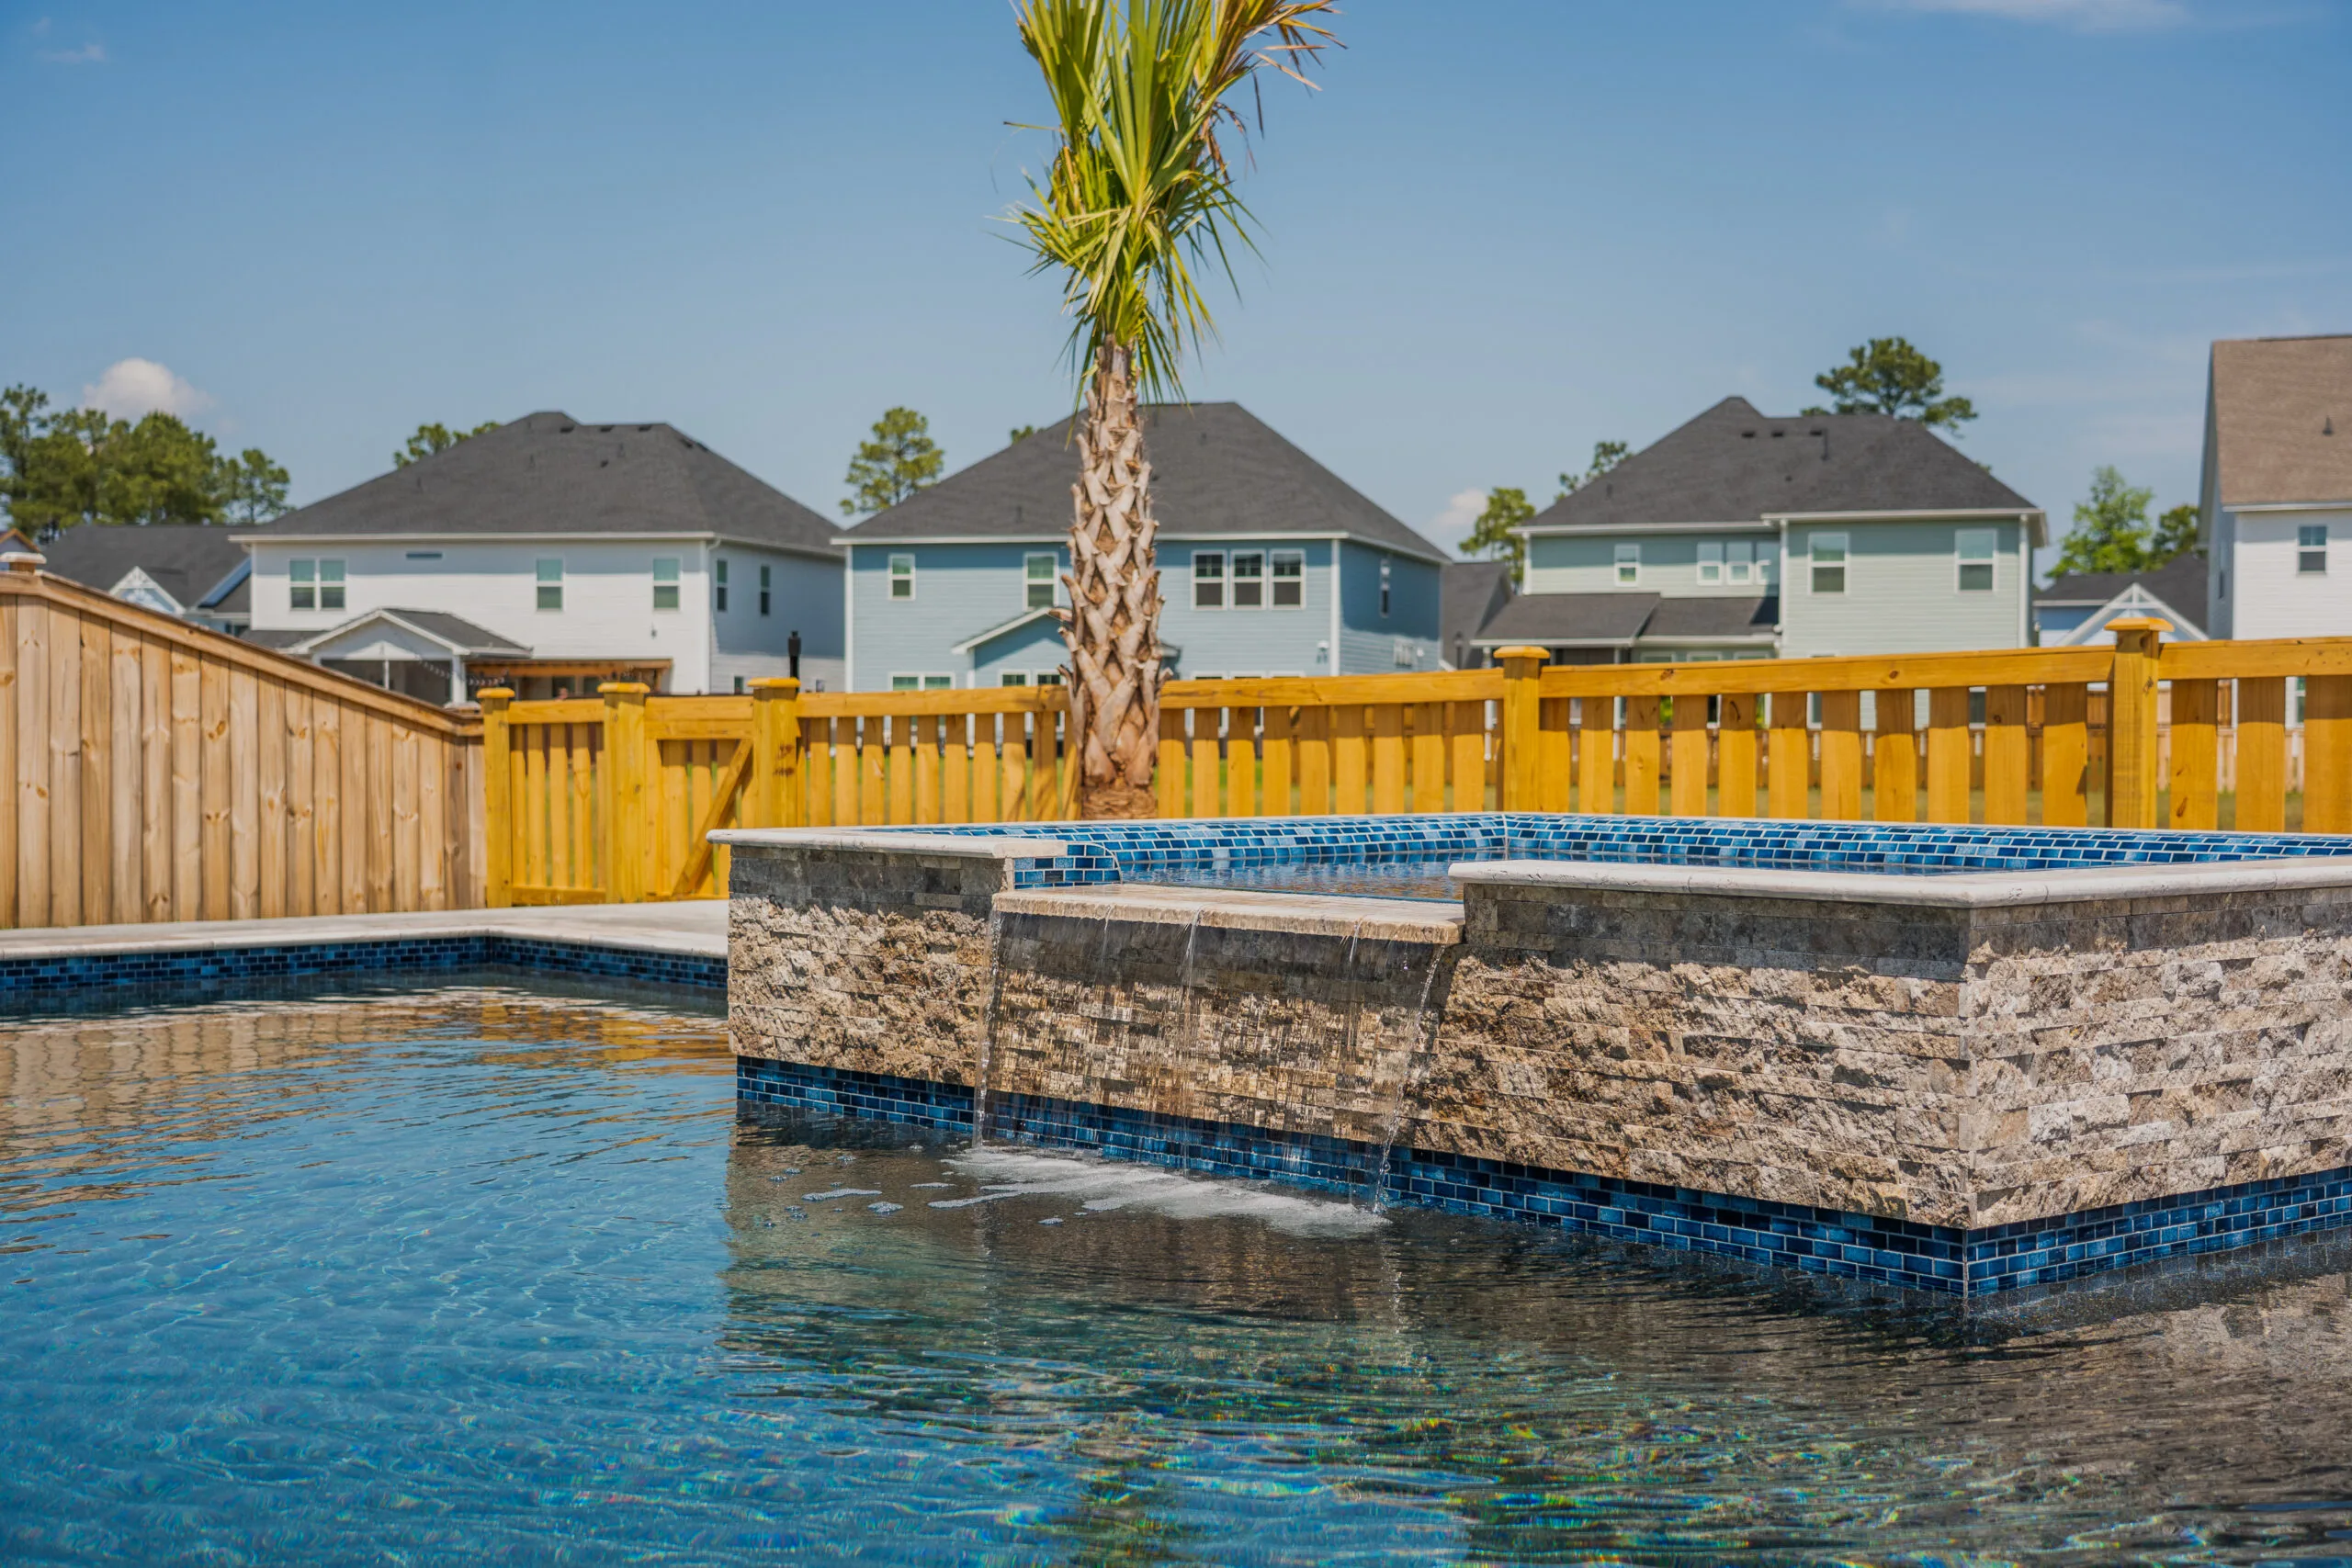
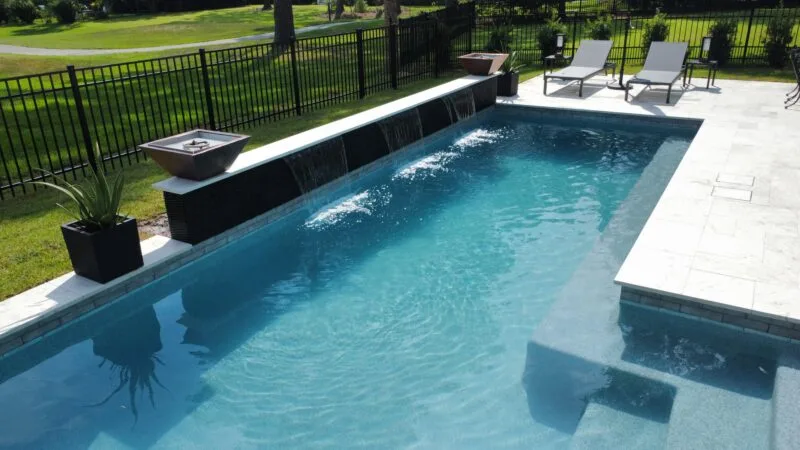
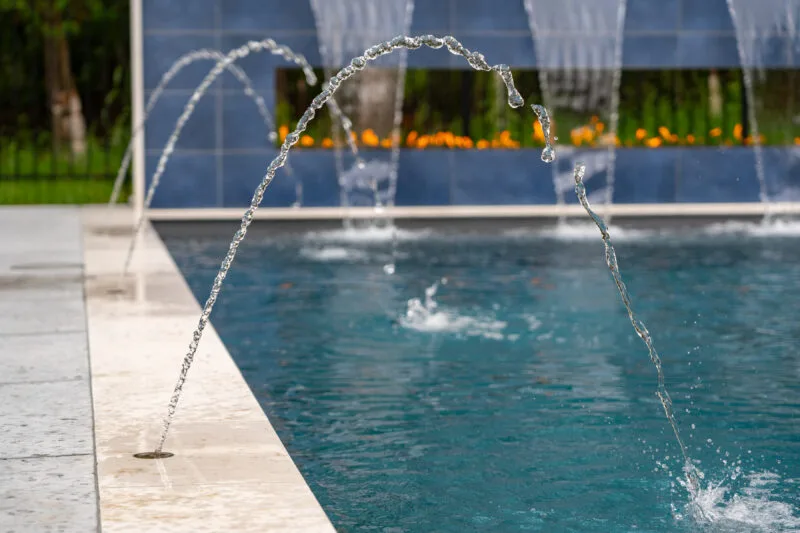
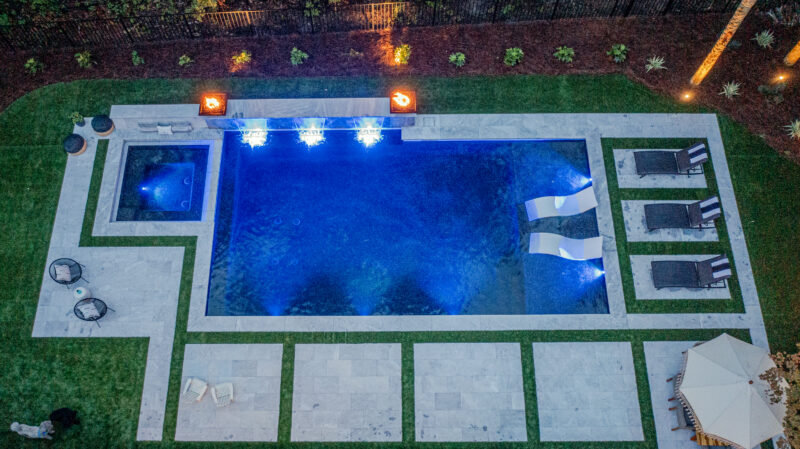
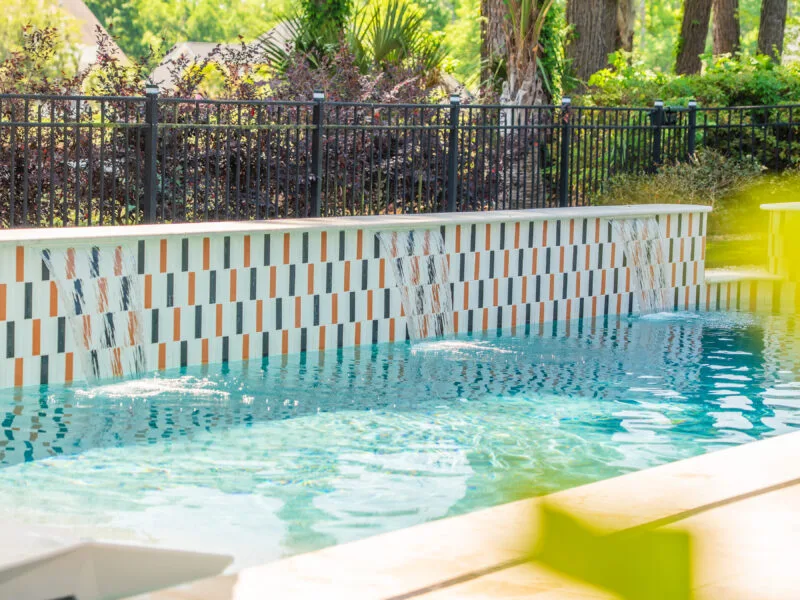
- Optional add-ons like spas, tanning ledges, water features, LED lighting, and/or fire features
This is the phase where the pool goes from a concrete shell to a polished, maximum strength pool.
Step 8: Equipment start-up and final walkthrough
We’re almost there! In the final step, we get the pool swim-ready. The final step of improving your inground pool involves filling the pool with water.
During this phase, we also balance the water’s pH by using the right balance of sanitizing agents and chemicals. We conduct a final inspection or walkthrough to make sure nothing else needs fixing, we clean up, and we hand over the pool to you.
As part of the custom pool construction process, we also walk you through how to use and take care of your pool. Through Pool School, we provide you with the basics of caring for your pool, using your pool equipment, and what to do if your pool ever needs maintenance or remodeling.
Once we’ve completed our final Pool School orientation, you’re free to enjoy your beautiful new backyard pool!
How long does the gunite pool construction process take?
The short answer: It depends.
For example, in Columbia, SC, gunite pool construction timelines can run as little as 60 days.
Nevertheless, concrete and gunite pool construction timelines range anywhere from 12-16 weeks, depending on the following factors:
- Complexity of the project
- Site conditions
- Climate and weather
- Time from permit to dig
- Added landscape and water features
Understanding the factors that affect the process will help you better gauge your expectations and plan your pool project.
Factors that can affect the inground swimming pool construction process
The main factors that can affect the process of gunite pool construction include any of the following:
- Weather: Precipitation and strong winds can cause delays.
- Permit timing: Depending on the municipality, permits may be authorized on different timelines.
- Yard access: Clearing the way for all your pool builder and their subcontractors can affect the timing of a build.
- Soil conditions: Depending on the ground soil, extra precautions may be needed for your pool build.
- Change orders: Should you decide to make changes, expect additional timeline adjustments.
- Material availability: Limited material availability or delays in shipping can affect the process of building a gunite pool.
- Scope complexity: The more complex the project, generally, the longer it takes to complete.
When you work with an expert pool builder with decades of experience and thousands of pools built, you can expect your pool build to go off without a hitch. We always recommend choosing a pool builder with a track record of success and a willingness to go the extra mile.
It will save you time, money, and stress. And that’s a fact.
And, if you happen to live in the Greater Charleston area and are thinking of building a new pool, let’s chat. We’d be happy to guide you through the process or answer any questions you might have.
Quick facts: the shell of the pool
Did you know, from start to finish, it only takes about 5-6 hours to finish shooting gunite on a pool? That’s the beauty of gunite.
No limits. No design restrictions. Just smooth, continuous building.
Want to see where the gunite shell lives? Check out what the gunite set-up looks like on one of our Myrtle Beach, SC pools.👈🏼 🌊
Frequently asked questions (FAQ) about the gunite pool construction process

1. What is the gunite pool construction process?
The gunite pool construction process involves creating a backyard pool using gunite or shotcrete concrete.
2. What are the steps in gunite pool construction?
The process involves eight steps, which include:
- Designing and planning the pool
- Digging the hole where the pool shell lives
- Installing the framework around it
- Plumbing and electrical rough-in
- Applying gunite to the pool
- Allowing gunite to cure
- Aggregate finishes, such as tile, coping, decking, plaster, and interior finishes
- Starting up the pool, checking all equipment, and final walkthroughs
3. How long does the gunite pool construction process take?
The gunite pool construction process can take as little as 60 days. Nevertheless, depending on several factors, including the gunite application process, gunite pool construction tends to take up to 12-16 weeks or more.
4. What happens after gunite is sprayed?
After gunite is sprayed, a pool shell should cure for at least 7 days and up to 28 days for maximum strength. During these days, the pool shell is wetted down at least once daily, cleaned of debris, and primed for interior finishes.
5. Are gunite pools built differently than fiberglass pools?
Yes, they sure are. Gunite pools are custom-designed and built. They require a steel rebar framework and sprayed gunite or concrete around their perimeter within an excavated hole in the ground.
In contrast, fiberglass pools are pre-designed and fabricated pool shells that are placed in a pre-excavated hole in a backyard. The time it takes to install, finish, maintain, and complete a fiberglass pool versus a gunite pool differs.
Fiberglass pools tend to install more quickly, but are less customizable and durable than gunite pools.
6. Why does gunite pool construction take multiple stages?
Gunite pools are built in multiple stages because they’re custom-built and engineered, requiring specialized tradespeople, materials, and processes that must be completed at specific stages and in a particular order.
Some stages take more time than others, so the proper coordination of all moving pieces is integral to successfully building a gunite pool.
Legacy Pools: Building Destination-Worthy Vacation Pools in Your Very Own Backyard